Hat tip again to Seth Fitzsimmons. I’ve been looking for a good, easy to use smoothing algorithm for rasters. Preferably something so easy, I don’t even need to write a little python, and so efficient I can run it on 30GB+ datasets and have it complete before I get distracted again by the next shiny project (a few hours).
Seth’s solution? Downsample to a low resolution using GDAL, then sample back up to a higher resolution in order to smooth the raster. My innovation to his approach? Use Lanczos resampling to keep location static, and get a great smooth model:

Code to do this in gdal follows. “-tr” sets our resamping resolution, “-r lanczos” sets our resampling algorithm, and the “-co” flags are not strictly necessary, but I’ve got a 30GB dataset, so it helps to chop up the inside of the TIFF in little squares to optimize subsequent processing.
gdalwarp -tr 50 50 -srcnodata "0 -32767" -r lanczos  -co "BLOCKXSIZE=512" -co "BLOCKYSIZE=512" oh_leap_dem.tif oh_leap_dem_50.tif
gdalwarp -tr 10 50 -srcnodata "0 -32767" -r lanczos  -co "BLOCKXSIZE=512" -co "BLOCKYSIZE=512" oh_leap_dem_50.tif oh_leap_dem_10-50.tif
At first this excited me for cartographic reasons. We can use this to simplify contours, and then use simplified contours at different zoom levels for maps:


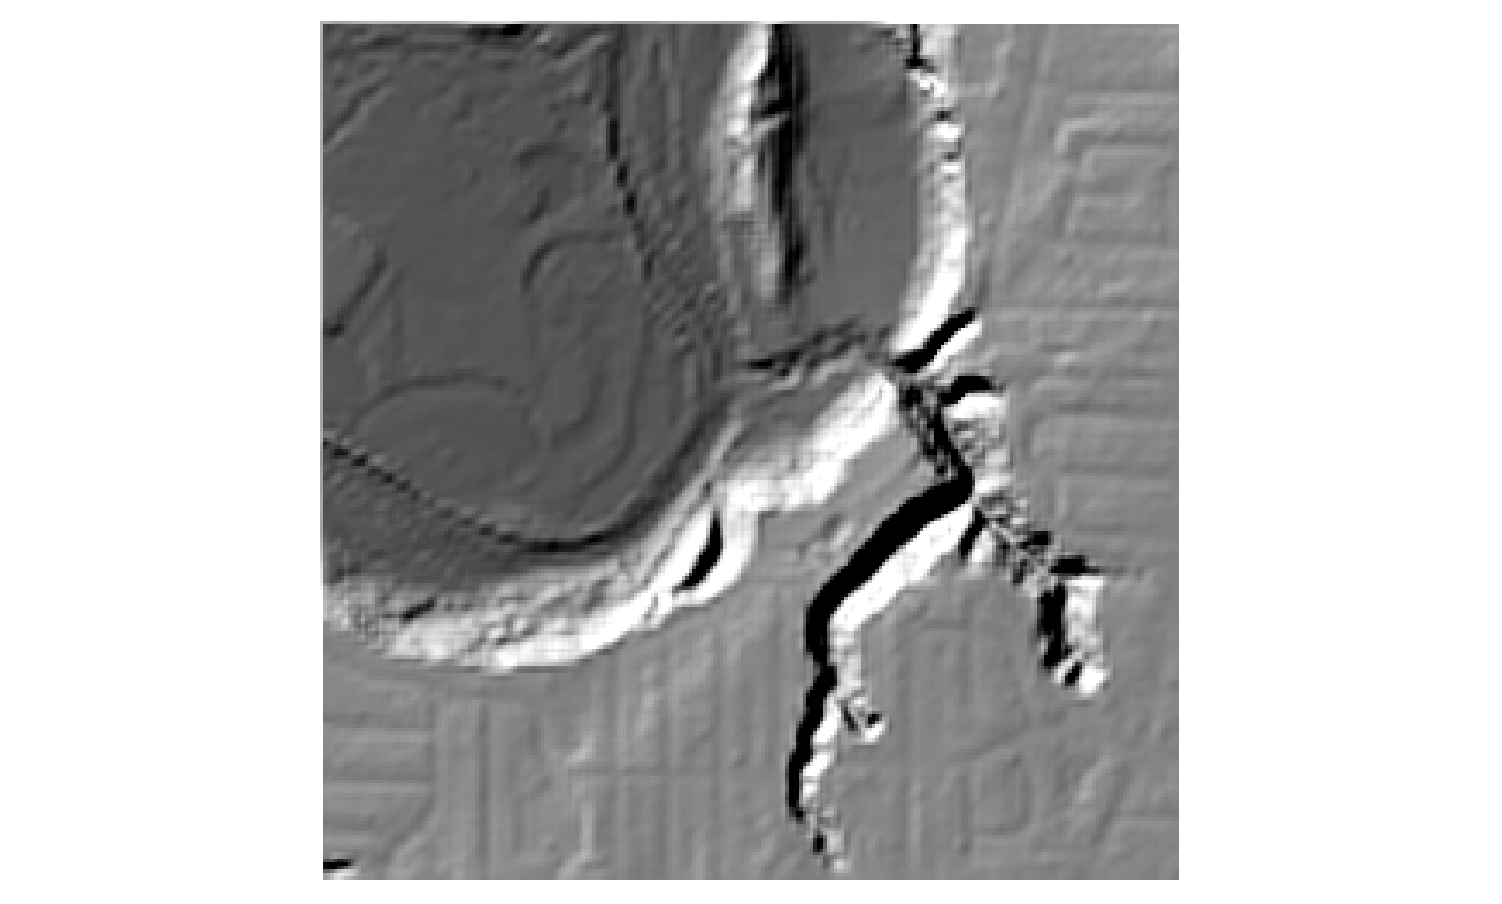
But, we can also use this for analyses. For example, if we difference these smoothed images with our original digital elevation model, we get a measurement of local elevation difference, the first step in establishing where valleys, ridges, and other land forms are.
# Resample to lower resolution
gdalwarp -tr 328.0523587211646 328.0523587211646 -srcnodata "0 -32767" -r lanczos  -co "BLOCKXSIZE=512" -co "BLOCKYSIZE=512" oh_leap_dem.tif oh_leap_dem_328.tif
# Upsample again to get nicely smoothed data
gdalwarp -tr 3.048293887897243 3.048293887897243 -srcnodata "0 -32767" -r lanczos  -co "BLOCKXSIZE=512" -co "BLOCKYSIZE=512" oh_leap_dem_328.tif oh_leap_dem_3-328.tif
# Merge two datasets together into single image as separate bands to ensure they are the same dimensions
# (gdal_calc, as a wrapper for numpy requires this)
gdal_merge -separate -o oh_leap_dem_3-328_m.tif oh_leap_dem.tif oh_leap_dem_3-328.tif
# And now we'll use gdal_calc to difference our elevation model with the smoothed one to get relative elevation
gdal_calc -A oh_leap_dem_3-328_m.tif -B oh_leap_dem_3-328_m.tif --A_band=1 --B_band=2 --outfile=oh_leap_dem_lp_328.tif --calc="A-B"
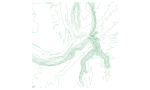
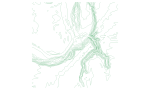
So, if we want a good proxy for riparian zones, we can use a technique like this, instead of buffering our streams and rivers a fixed distance (in this case, I’ve used 4 different distances:
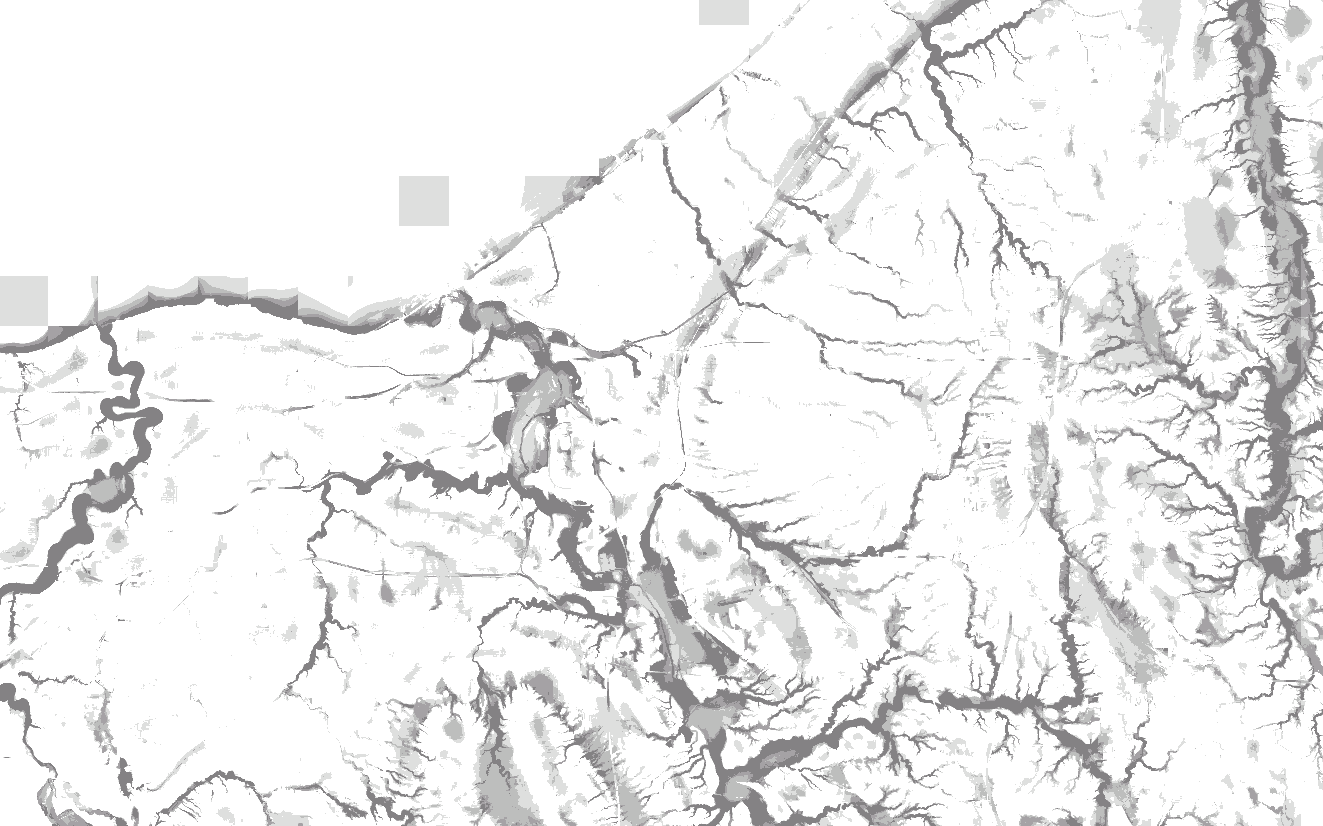
Pretty snazzy riparian finder. It seems to also find upland headwater wetlands (most of them historic and drained for Cuyahoga County). I am now running on 4 million acres of Ohio at a 10ft (~3 meter) resolution. It’s that efficient.
Addendum: It also finds escarpment edges, like the Portage Escarpment in the above, so it is a mix of a few landforms. Darn handy nonetheless.

2 thoughts on “Landscape Position using GDAL”