Walnut Back, ready to joint. Wood on one side, and the aluminum on the other serve to contrain the boards horizontally. Two sticks are temporarily inserted under the board pieces to elevate them. Hot hide glue is slathered onto the edge, and then the two boards drop into place with gravity.
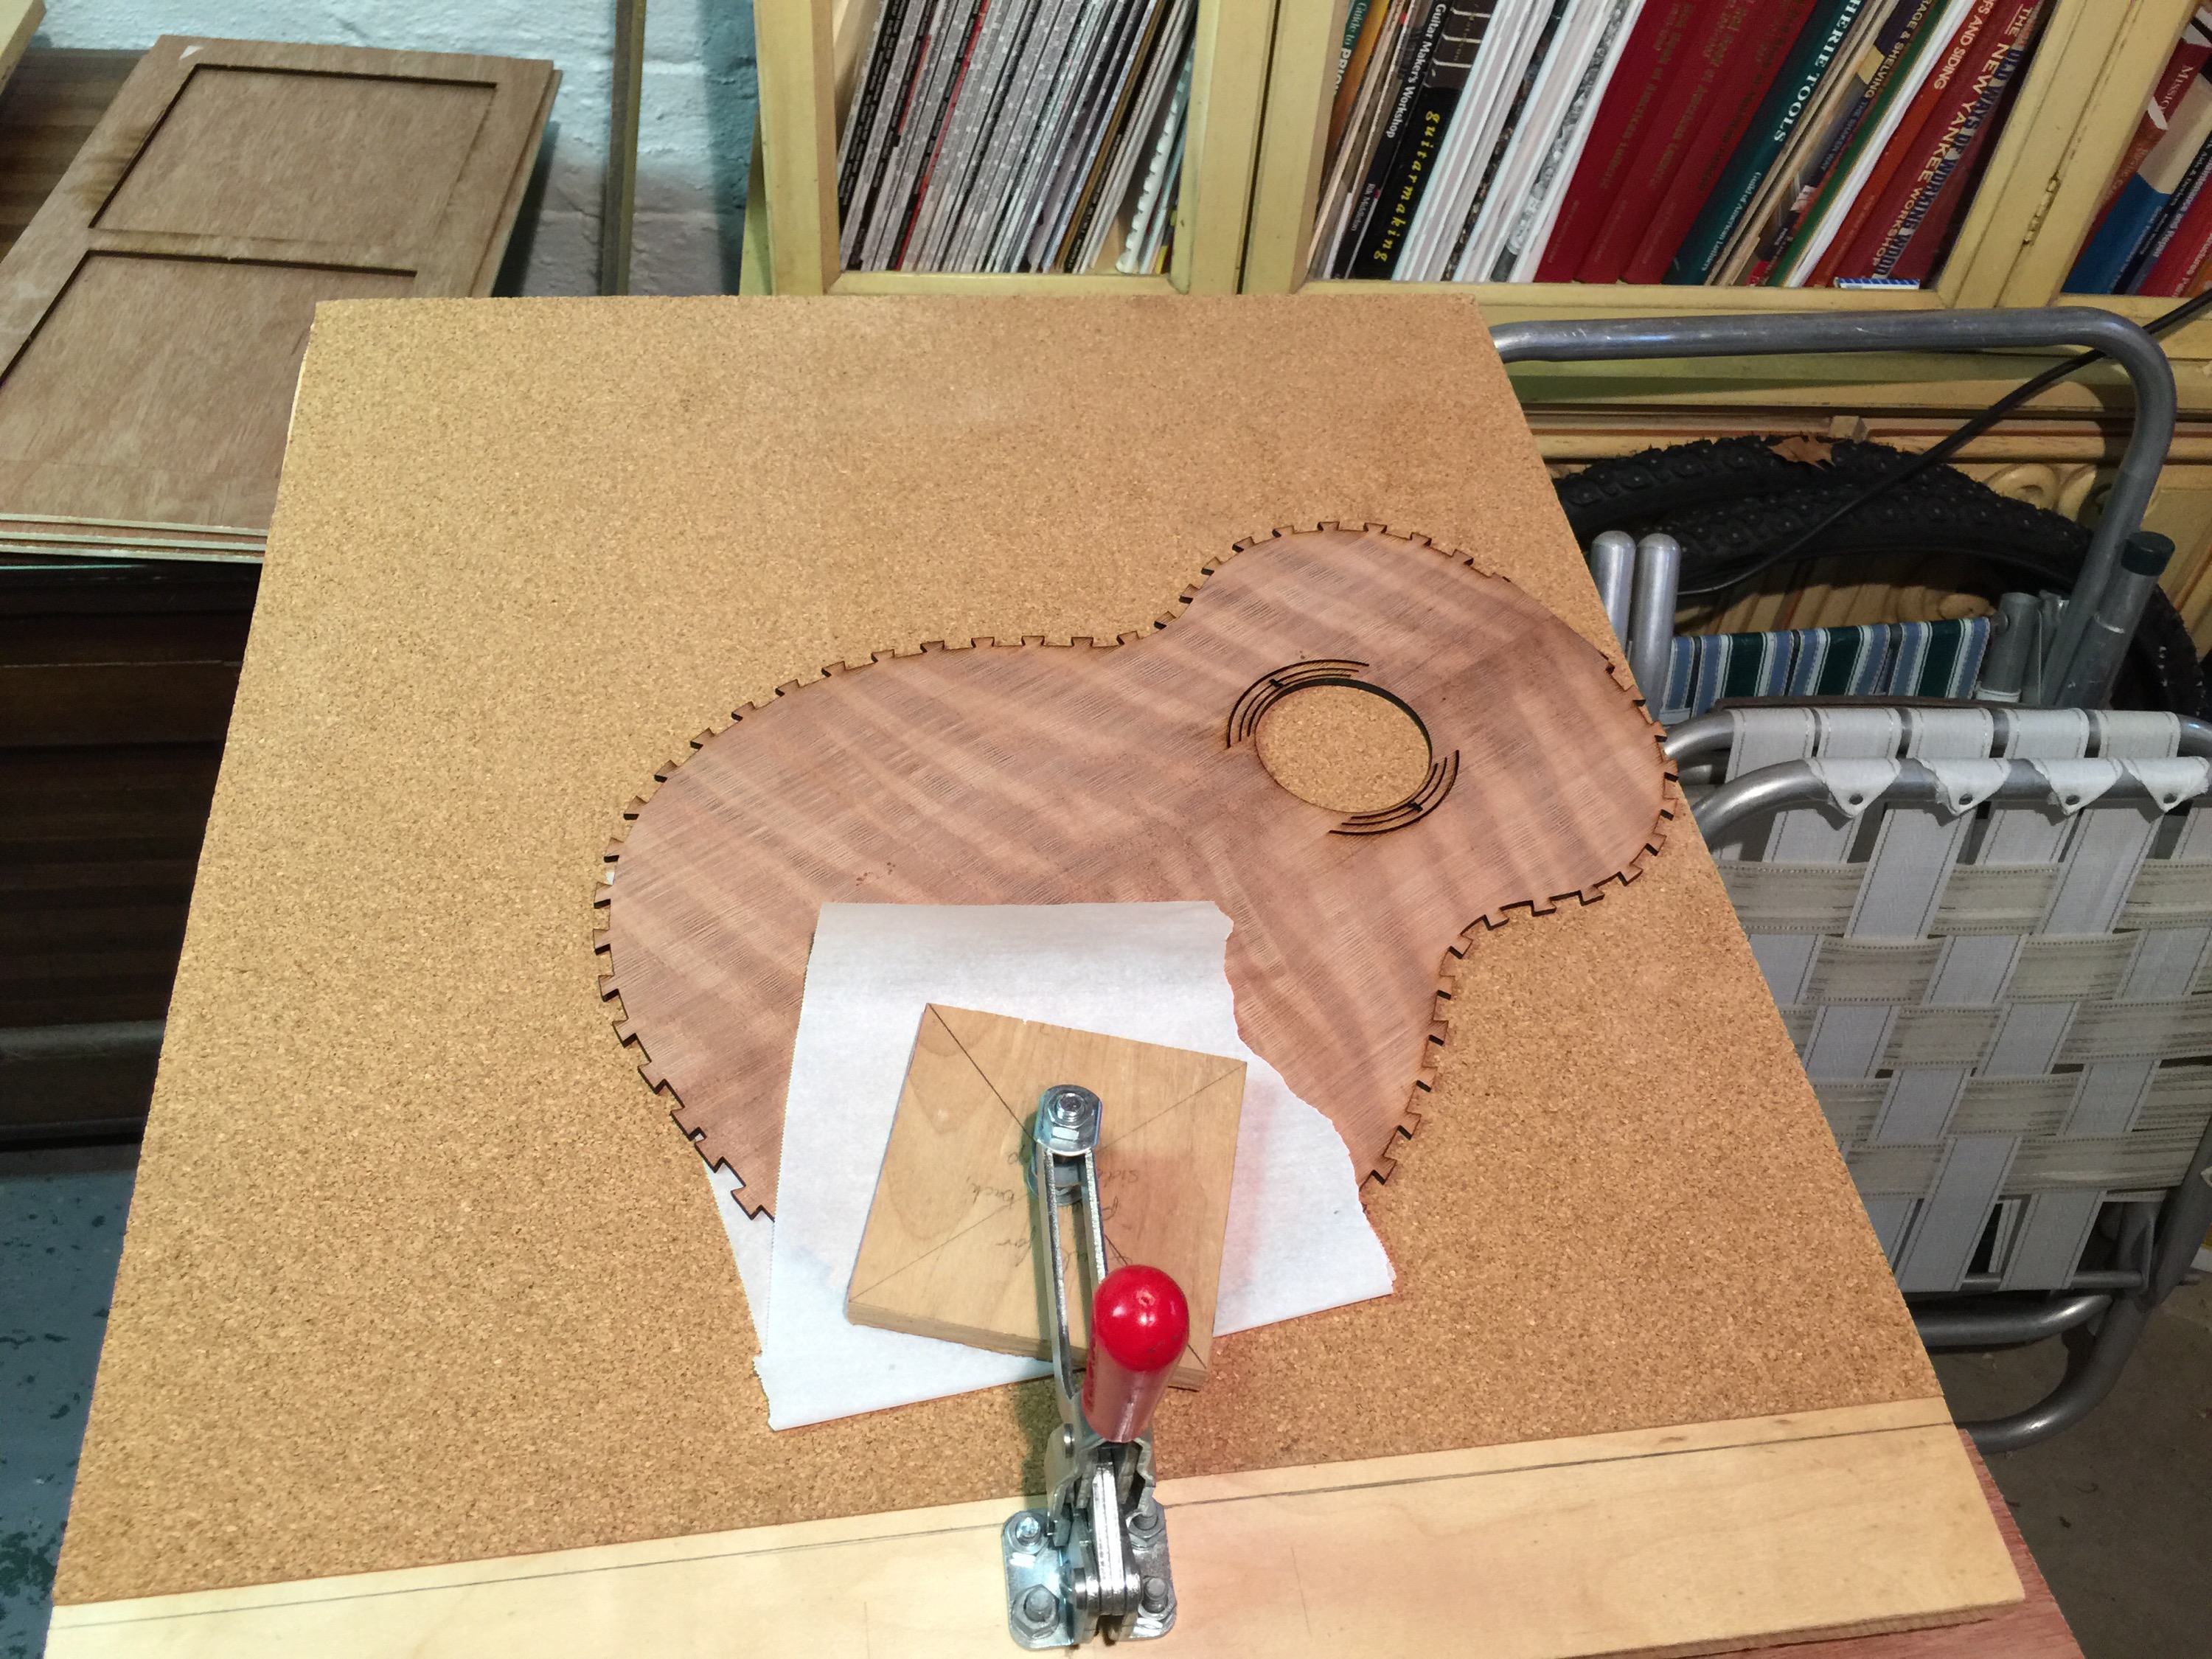
Here is the follow up on the curly redwood top for the tenor guitar. I went to Cleveland Public Library, where they have a laser engraver in the basement to do some really outlandish cuts — here some non-sensical dovetails, and a stopped rosette.
Another view of the soundboard.
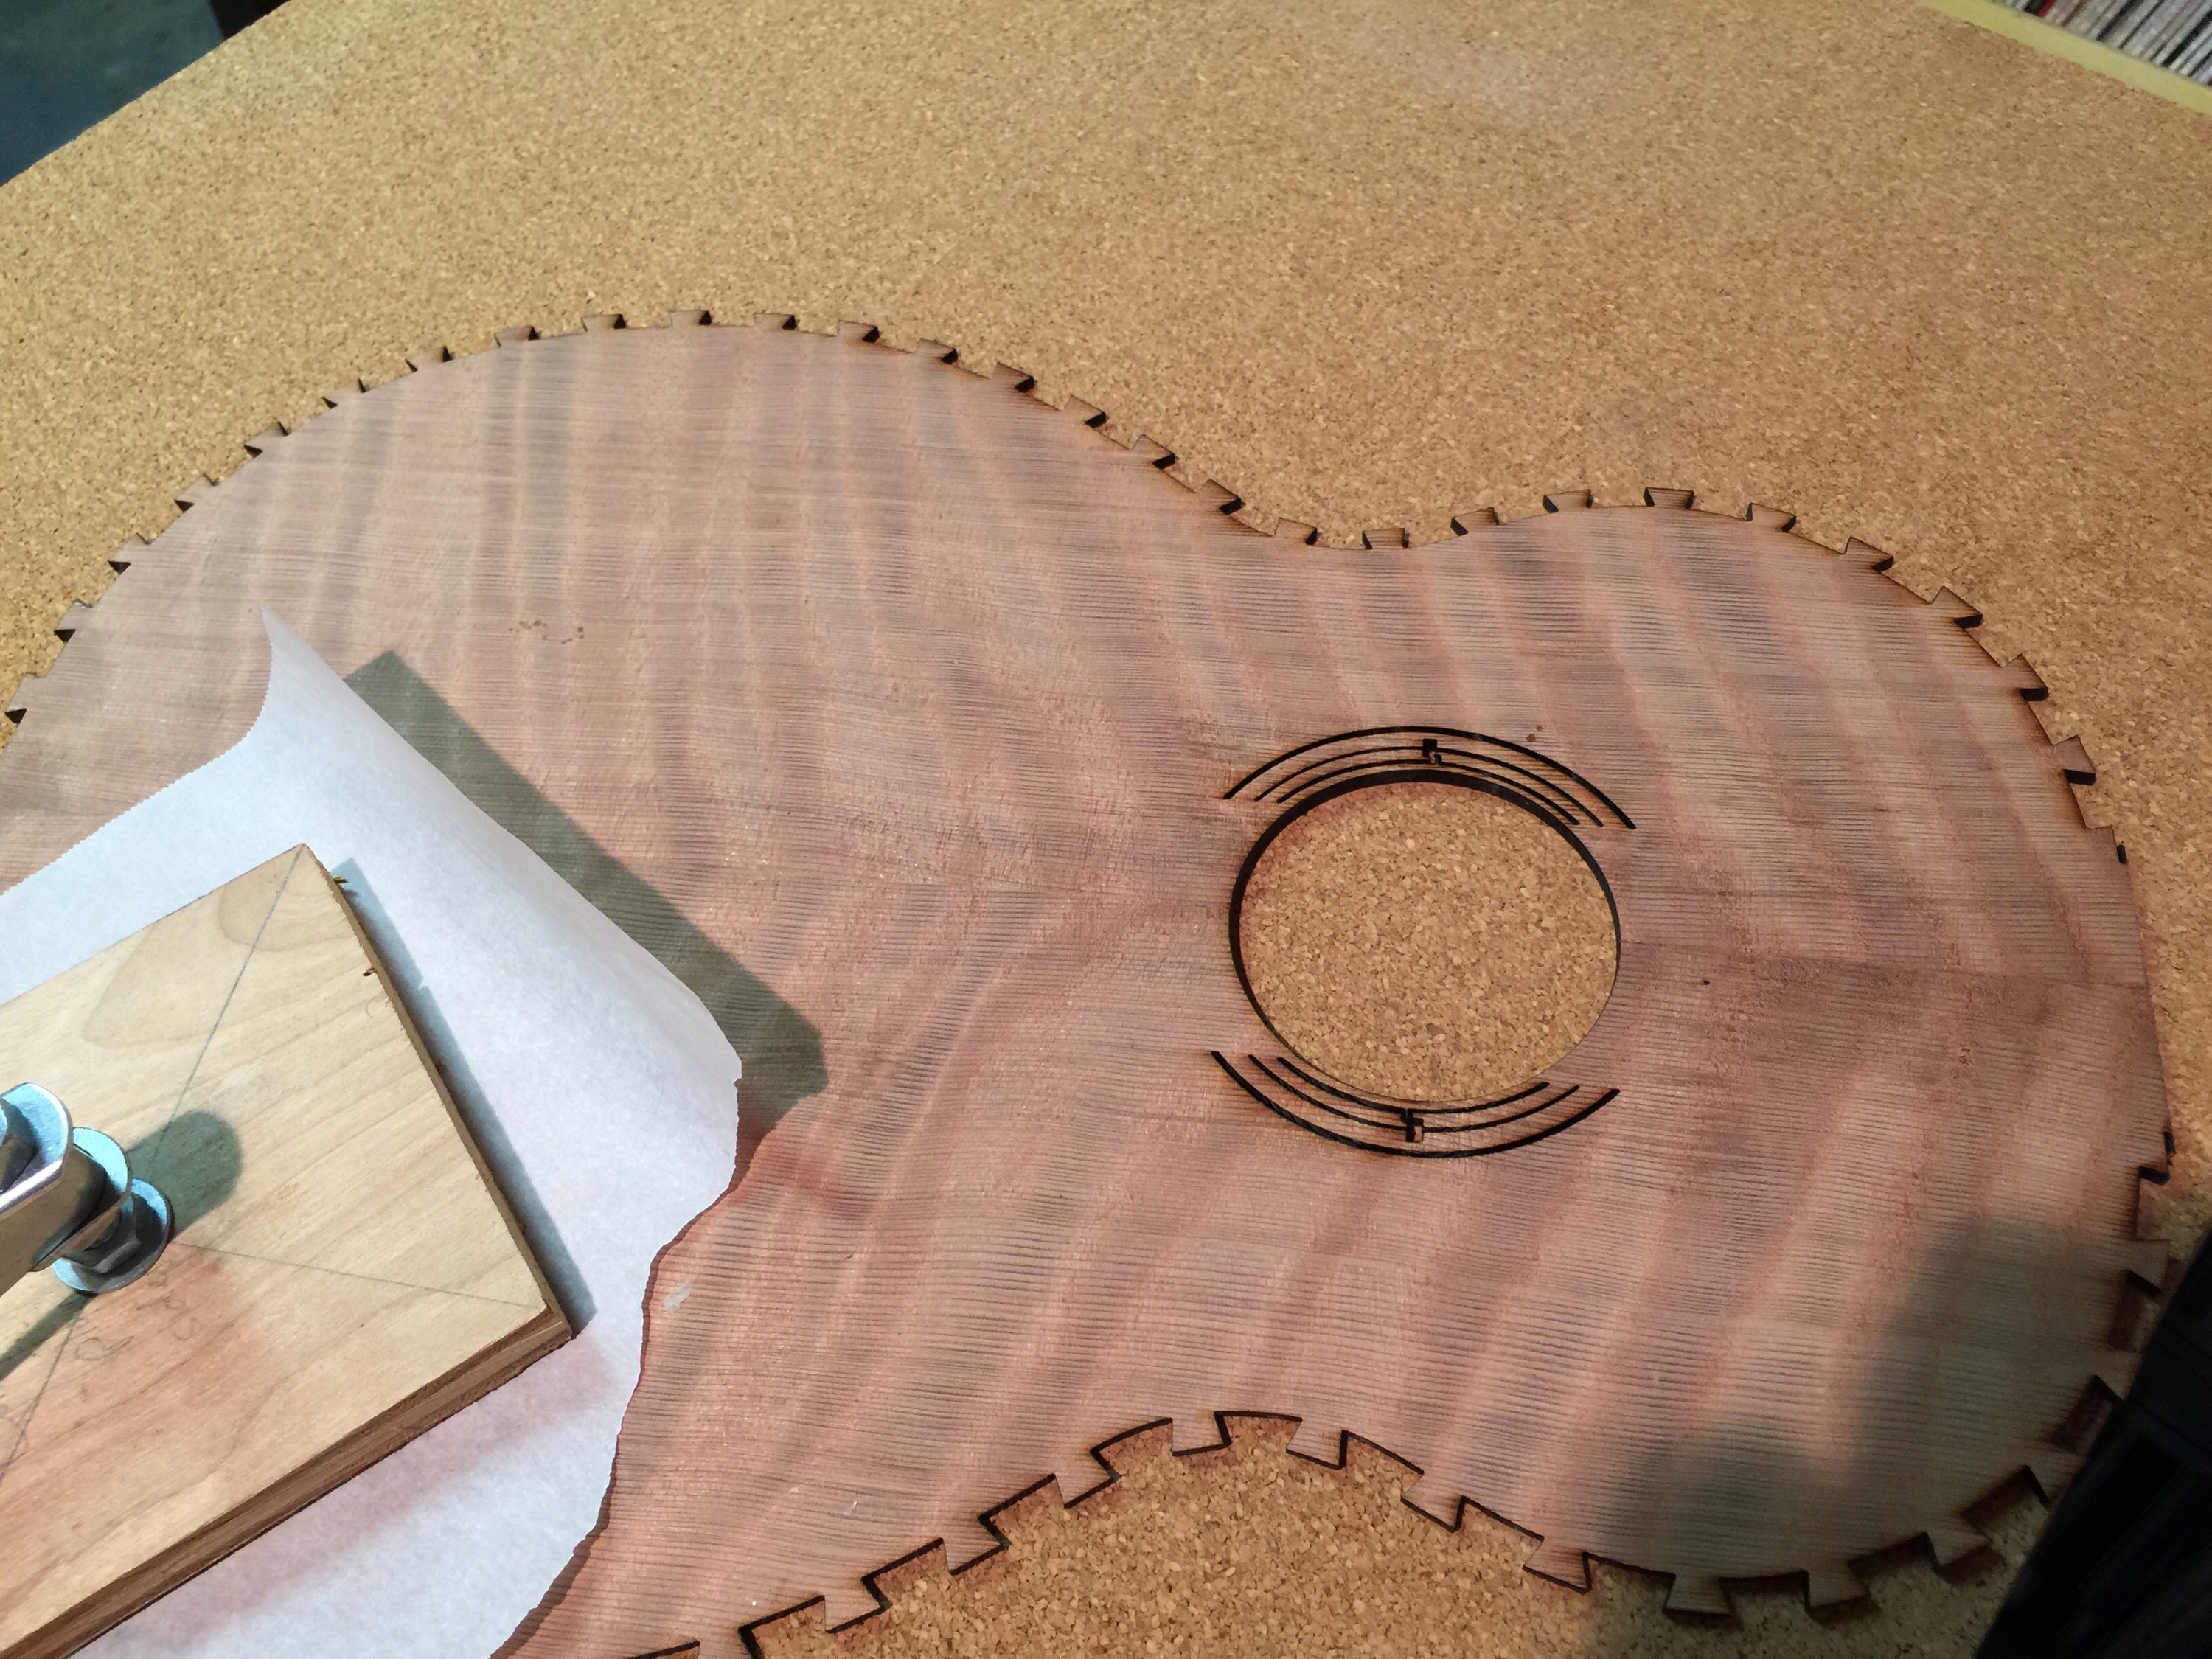
See the close-up of the stopped rosette and soundhole.
It turns out, I had a whole lot of unjointed wood so I decided to joint it all in one evening — a little practice to make perfect. This is a little croch walnut for a mandolin, ready to be edge joined.
Here we see another close-up of the soundhole and rosette. Hoping to drop some other wood or shell into those slots.
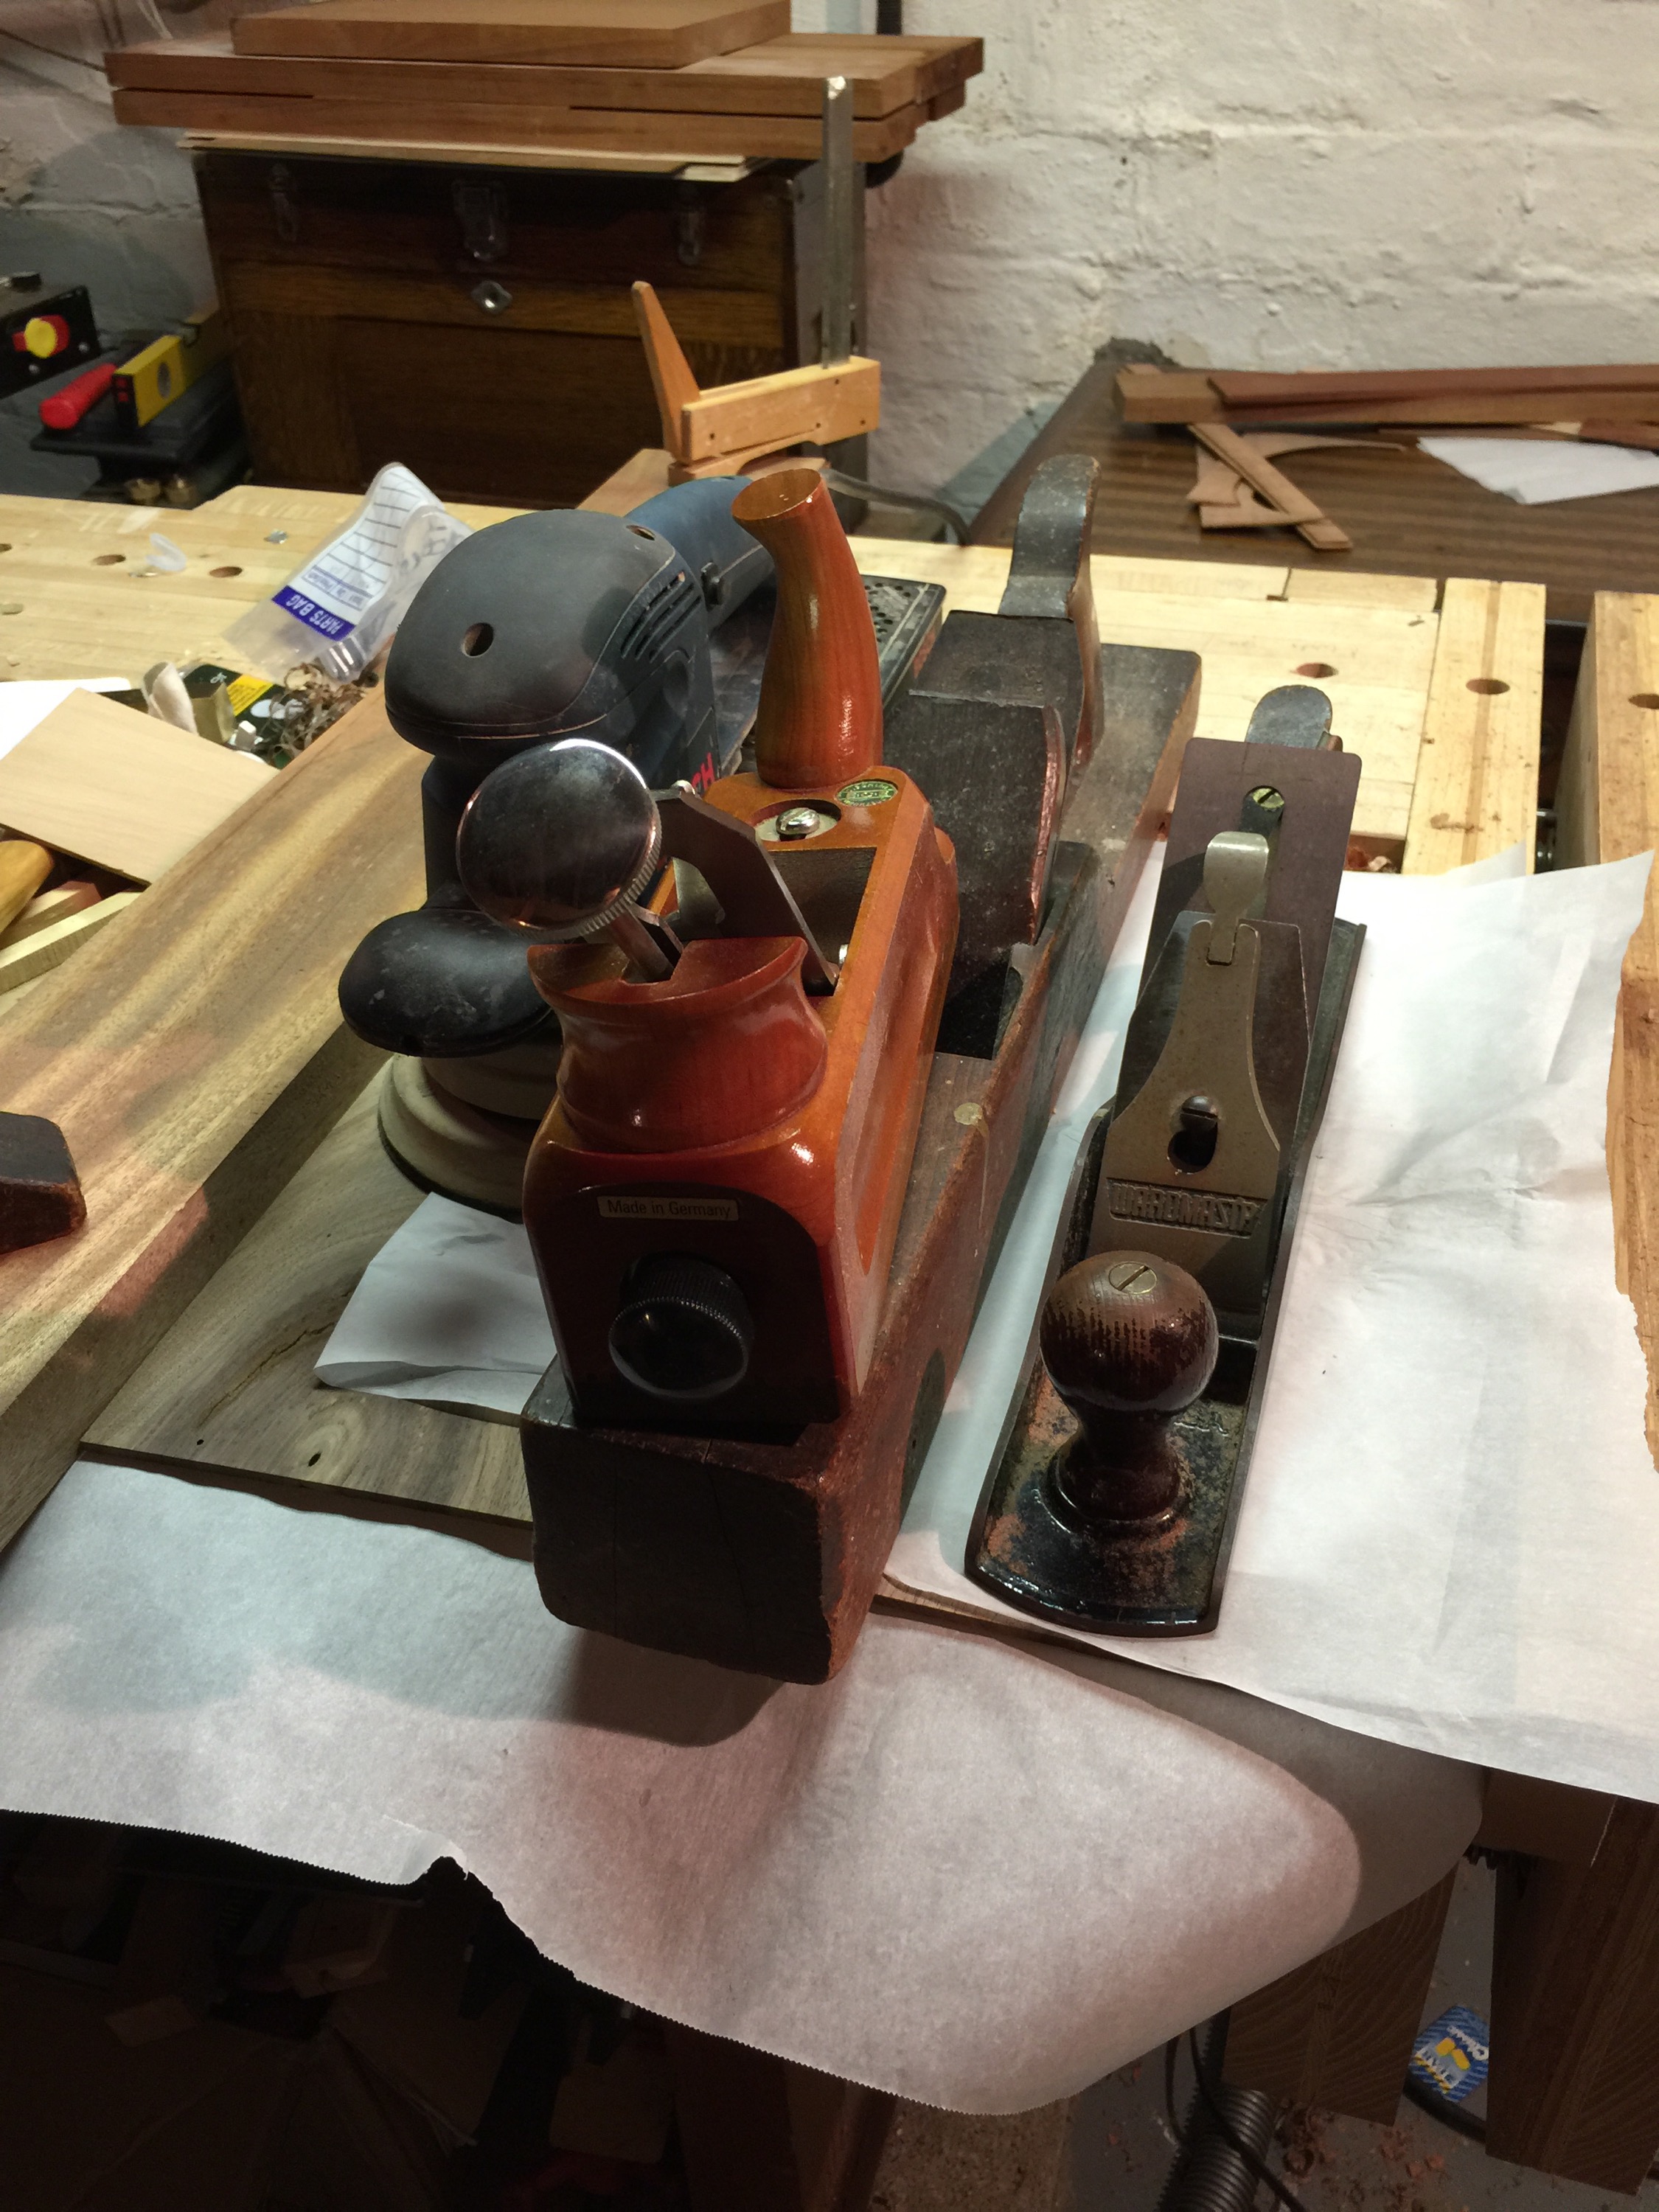
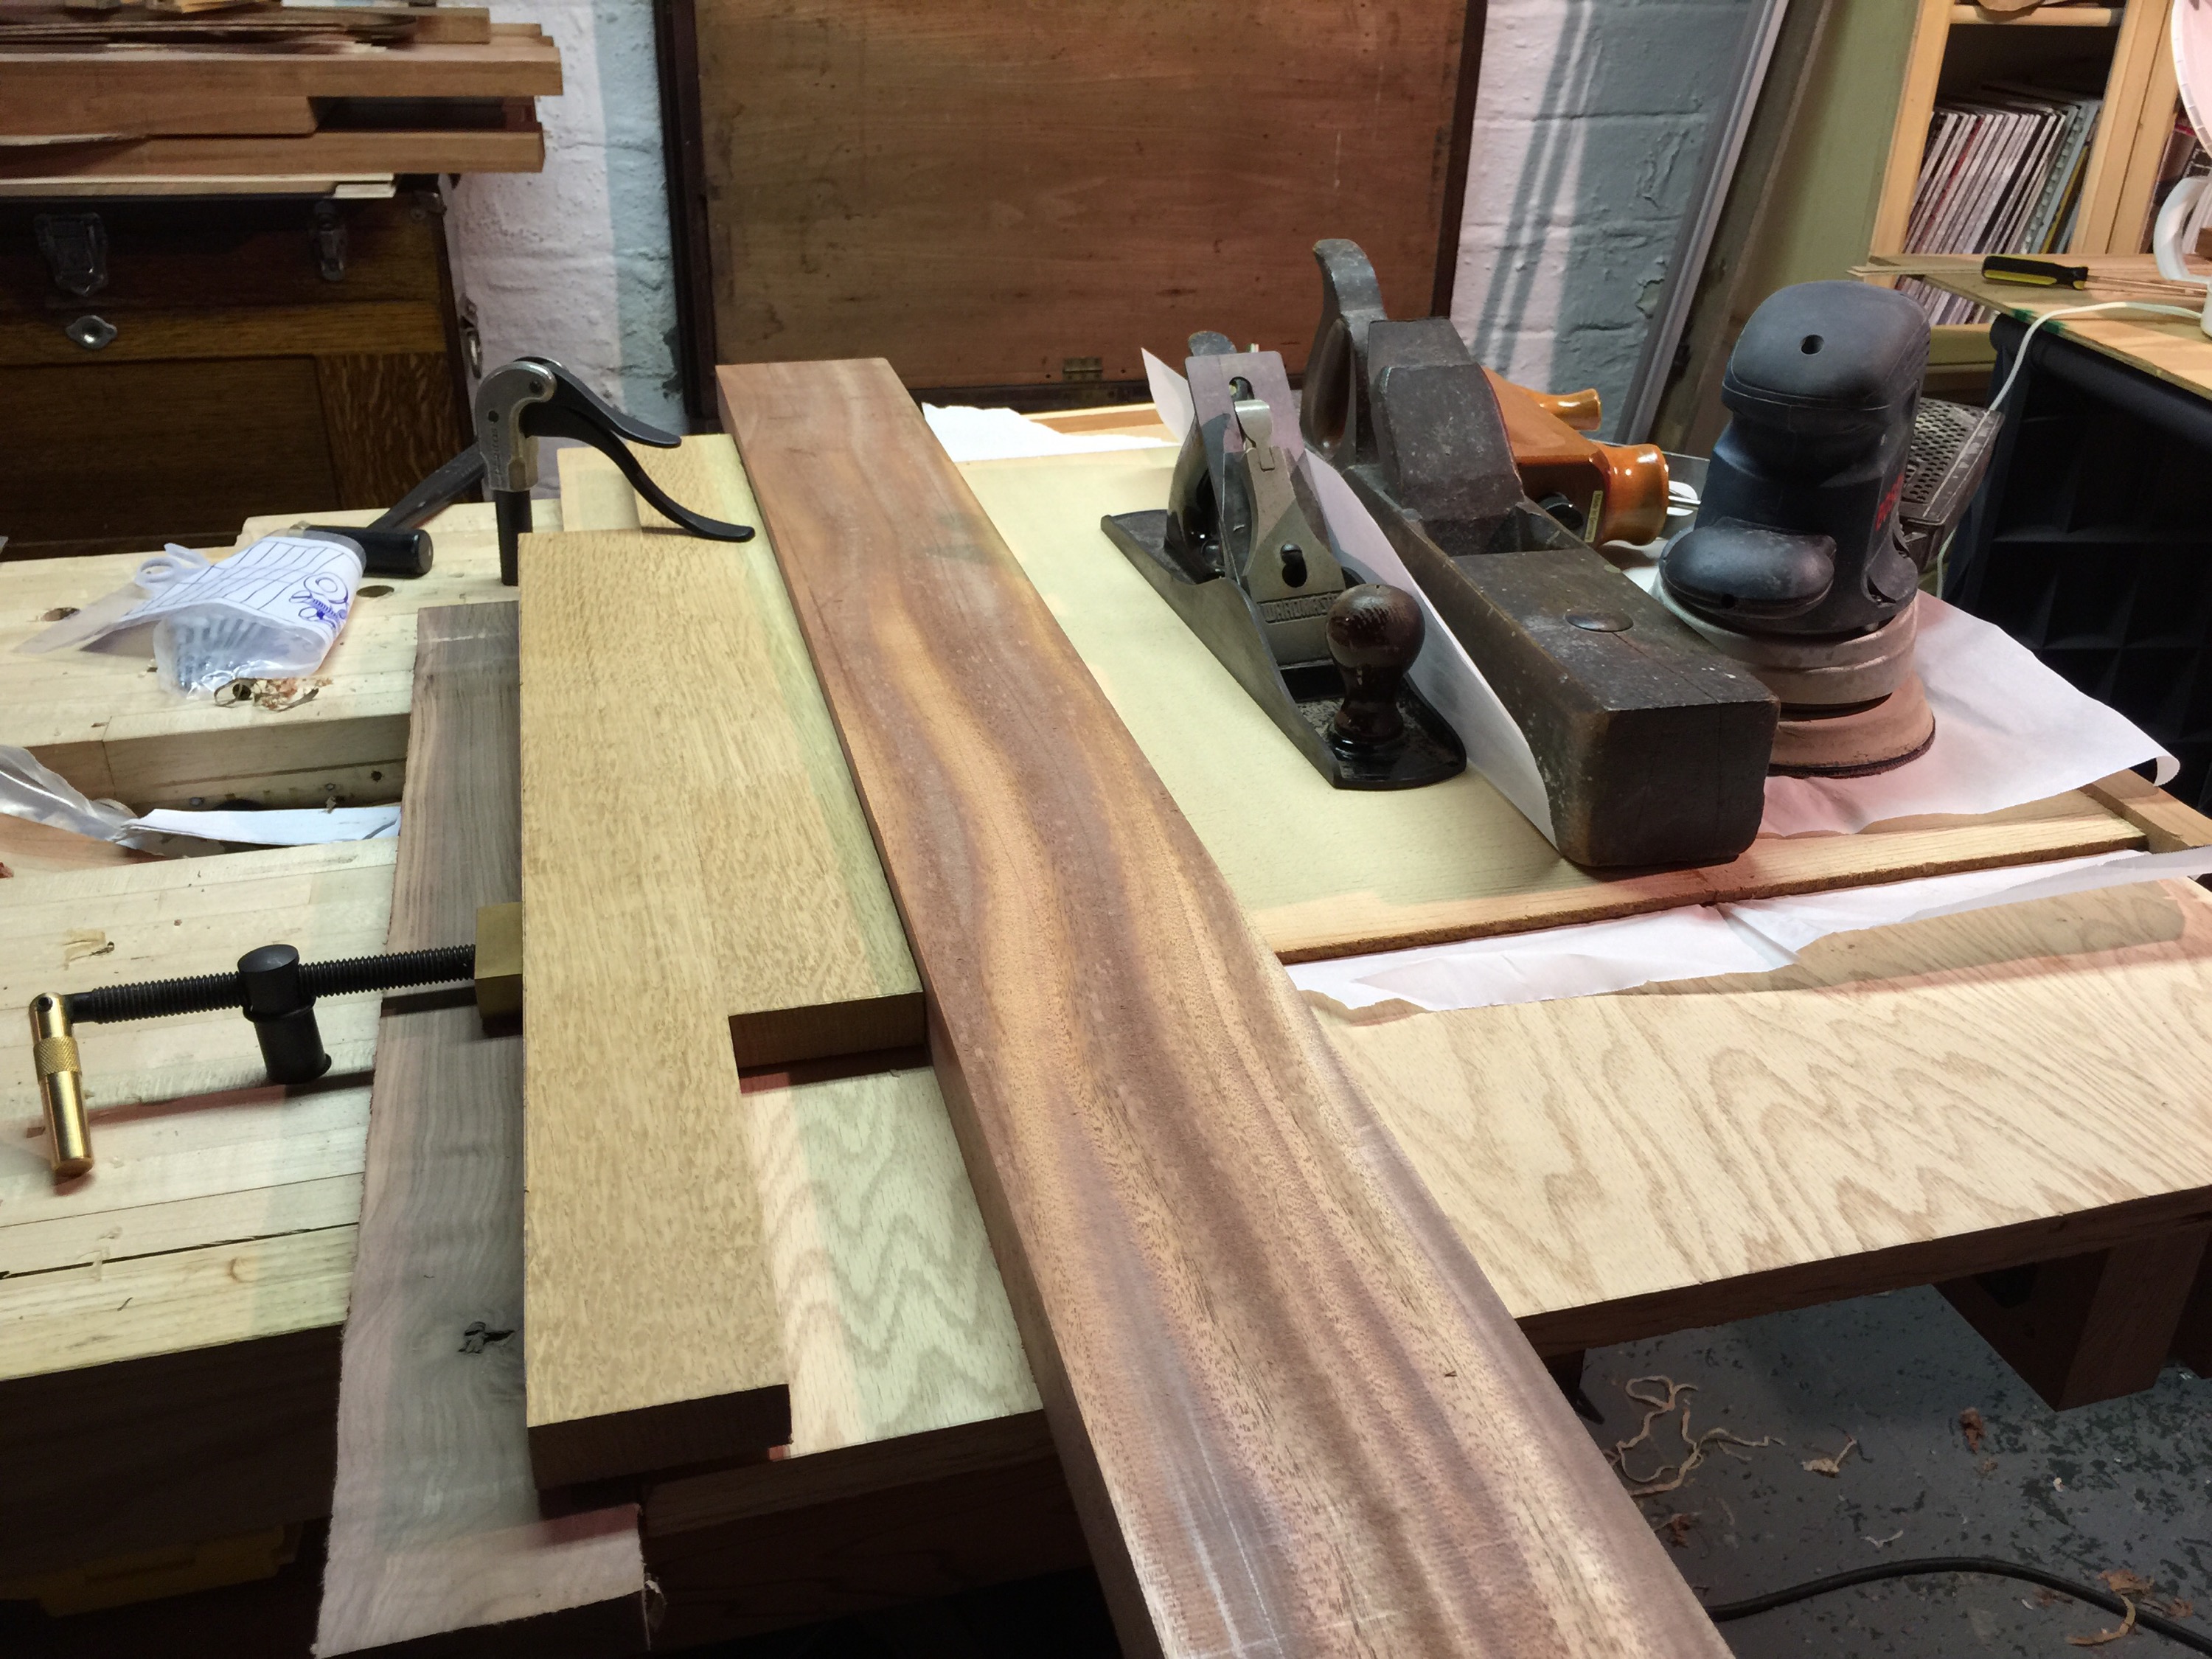
Sometimes you clamp boards down with whatever is on hand. In this case, it’s most of my smoothing tools… an EC Emmerich smoothing plane, a Stanley knock off, a nice big 22 inch wooden plane, and my random orbital sander.
A Sitka spruce soundboard ready to be jointed.
Here I am starting to refine my jointing process with another Sitka spruce top.
Sanding blow out on the soundhole / rosette + piece of patch wood for said soundhole…
Technique refined — clamping is simple, and uses gravity above the joint of the jointing boards.
And thus we have a very nicely jointed board Sitka spruce board as a bookmatched pair. It passes the “candling” test handily (hold it up to the light, and look for light gaps).
More smoothing tools as clamps…
And here we observe a whole stickered stack of soundboards and backs on top of the basement freezer.
I hope you once again enjoyed this non-geo diversion. Until next time… .


Looking good! Super interesting to see this process… tenor guitar too???