
Conservation and Research
In a previous post, we discussed what does a Zoo Conservation and Research program, like what we are privileged to have at Cleveland Metroparks Zoo do. And what does a program like this do beyond in situ conservation that I’ve blogged about before. Much of the other work done in these programs focuses on research to improve animal care.
No matter where you are in the Zoo, you are likely to see someone — a volunteer, and student, or zoo staff watching the animals, recording their activities, and doing the hard work toward understanding how to improve animal welfare. A portion of that work is mapping out and understanding exhibit usage, which I detailed in the previous post.
Mixing photo types
Today’s post on using imagery to support zoo research will focus on one particular technical aspect that might be useful across a range of disciplines using OpenDroneMap. It’s also a hack — as in, we probably should be coding our way around this problem, but sometimes we just need to get the job done.
OpenDroneMap uses Mapillary’s OpenSfM as it’s structure from motion library. OpenSfM is the start of all processes, and what it does and doesn’t do drives much of what happens downstream in the processing toolchain.
One thing that OpenSfM doesn’t do a great job of (yet) is automatically detecting and adapting different camera models. The Auto setting has gotten better recently, but it doesn’t auto-detect spherical camera types yet. So when we use 360 cameras with OpenDroneMap/OpenSfM, we are obliged to declare we are using a Spherical lens type.
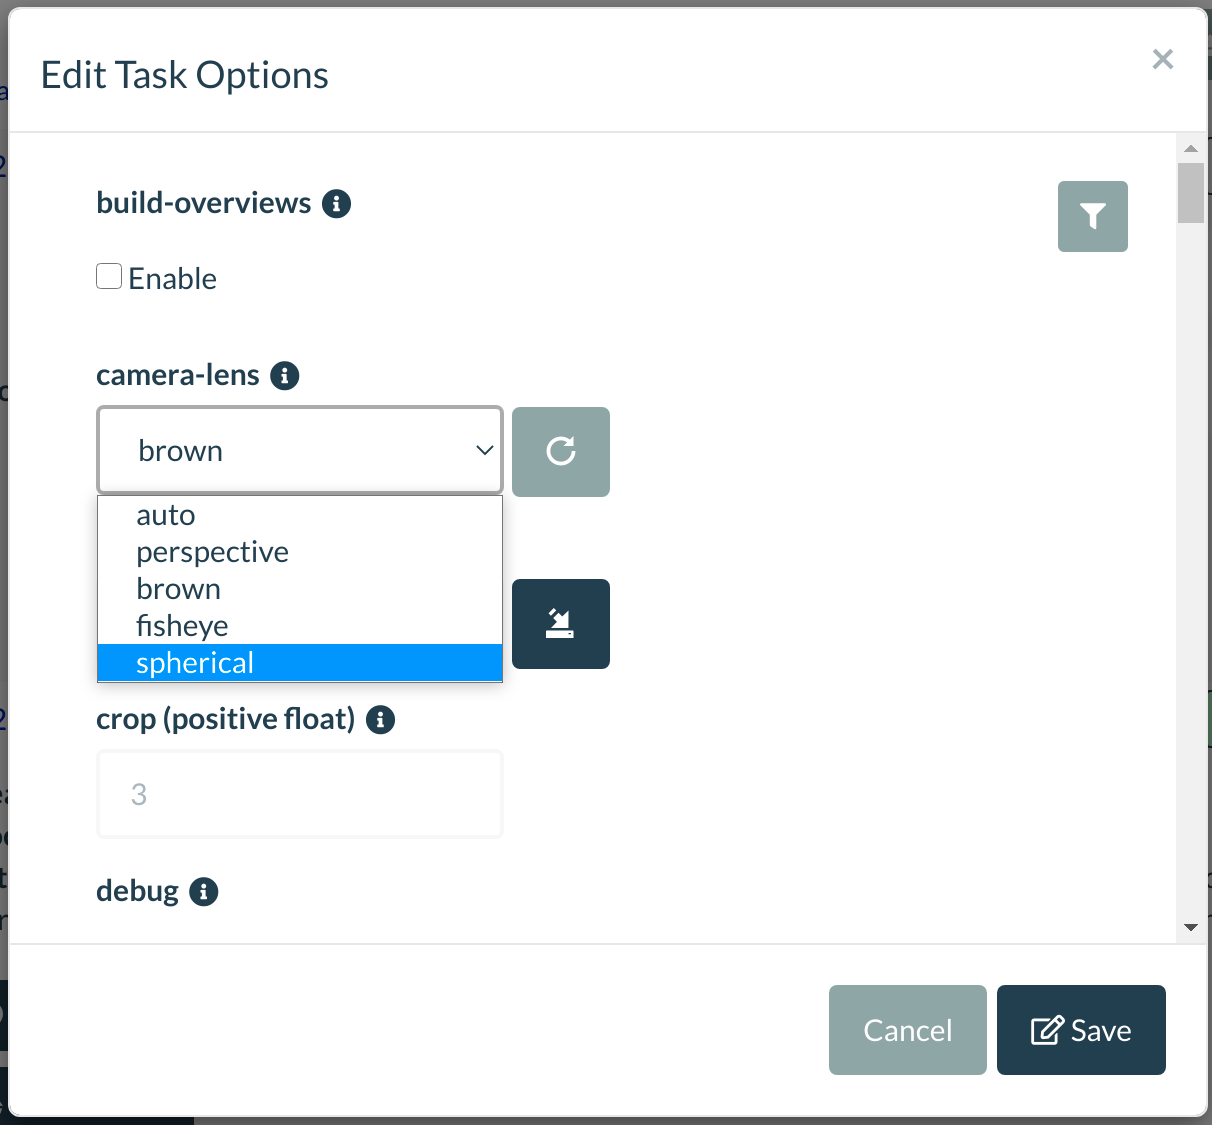
This also means that we can’t mix different camera types easily. For the orangutan exhibit, we used a DJI Mavic Mini, which is best represented with a Brown (Brown-Conrady) lens model, a Sony α6000 with a wide angle lens (Brown), and a GoPro Max, which is a spherical camera to collect all the images.
The trick…
The trick to mixing cameras like this is to convert our spherical camera back into some standard brown model, and then feed these converted images in with the other camera images. There are a few methods we could do this, but I decided the quickest way for this would be to just use OpenSfM to do the work for me. In this way, I could use a camera model optimized by OpenSfM’s discoveries about the GoPro’s optical properties.
With aggregate projects like this, I avoid immediately throwing all the images together in a big bucket for processing anyway: I like to process the different sources separately in order to sanity-check the independent data collection processes and understand what works and doesn’t. So, my first run in processing for this second stage of the project was to independently process the 3 camera sources. So I loaded the GoPro Max (360) data in its own process, the Sony α6000 in its own process, and the DJI Mavic Mini on its own. All looked great.
The implementation
OpenSfM, when processing spherical imagery, will actually generate perspective views for 6 faces (a cube) as part of its intermediate steps. This is convenient: we can just feed these in with our Brown-Conrady compatible cameras without issue:


To get to these images in WebODM, which we often run as a docker instance, we need to connect to the NodeODM instance, identify where the project is, and copy the perspective versions out. If we don’t know the name of our docker instance, we can just use docker ps to find out which instance we need to attach to:
docker ps
CONTAINER ID        IMAGE                        COMMAND                  CREATED             STATUS              PORTS                                         NAMES
bdbddf7f7d72        opendronemap/nodeodm         "/usr/bin/node /var/…"   22 hours ago        Up 22 hours         0.0.0.0:3001->3000/tcp                        recursing_beaver
27c30f51dd2e        opendronemap/webodm_webapp   "/bin/bash -c 'chmod…"   3 days ago          Up 3 days           0.0.0.0:443->8000/tcp, 0.0.0.0:80->8080/tcp   webapp
3cc30d9b6fef        opendronemap/webodm_webapp   "/bin/bash -c '/webo…"   3 days ago          Up 3 days                                                         worker
30af83b1d96a        redis                        "docker-entrypoint.s…"   3 days ago          Up 3 days           6379/tcp                                      broker
6a8d4eb071fa        opendronemap/webodm_db       "docker-entrypoint.s…"   3 days ago          Up 3 days           0.0.0.0:32770->5432/tcp                       db
In my case, it’s recursing_beaver. To attach to the instance, I can just use docker exec as follows:
docker exec -it recursing_beaver bash
root@bdbddf7f7d72:/var/www#
root@bdbddf7f7d72:/var/www# cd data/
root@bdbddf7f7d72:/var/www/data# ls
3bb30c51-46fd-405e-be68-bc7e9e826ea5  5905b4c7-145c-4915-9a98-ba9a8dd45dd5  tasks.json
I need to find the task in question, in this case, searching by image name was helpful.
root@bdbddf7f7d72:/var/www/data# cd /var/www/data/3bb30c51-46fd-405e-be68-bc7e9e826ea5/opensfm/undistorted/images#
Now that we know where the images are kept, we can copy them back to our instance with docker cp.
user@machine:~$ docker cp bdbddf7f7d72:/var/www/data# cd /var/www/data/3bb30c51-46fd-405e-be68-bc7e9e826ea5/opensfm/undistorted/images .
Now, I just combine these with all the other images in a process, and run. Since we’ll have lots of neighboring photos, I did use some special options with respect to matcher neighbors:
Options: camera-lens: brown, dem-resolution: 1, depthmap-resolution: 1280, dsm: true, dtm: true, feature-type: hahog, gps-accuracy: 20, matcher-distance: 5, matcher-neighbors: 40, matcher-type: bow, mesh-octree-depth: 11, mesh-size: 300000, pc-quality: low, resize-to: -1, smrf-threshold: 0.5, smrf-window: 800, texturing-data-term: area, rerun-from: dataset
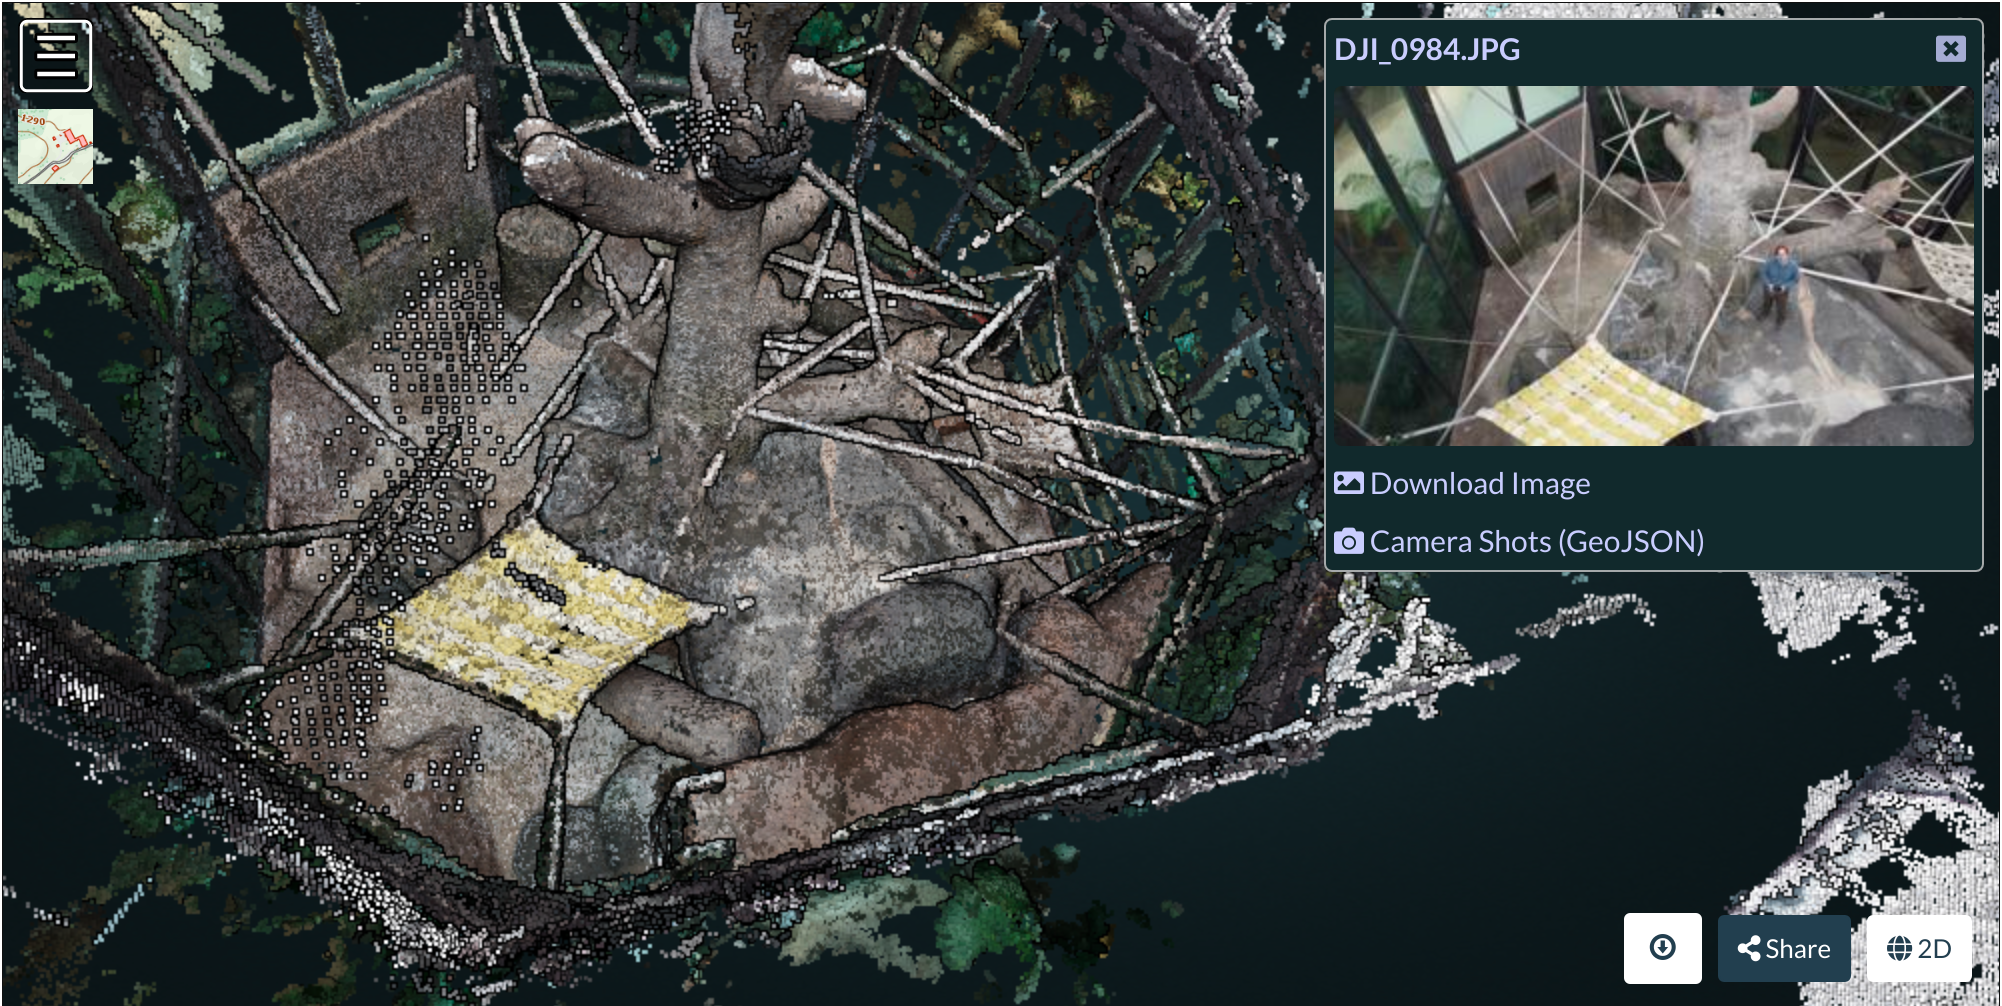
How did it turn out? Pretty darn nicely, and in a very promising fashion:

Interesting subject……I see in the final render there is a shift in colors around the center of the photo….whitist colors on tree to darker grayish and oddly the man is absent——-poor photos rez for man?
Is the shift in colors due to different colors in originals photos? Looks like the need to color balance all the different photos???
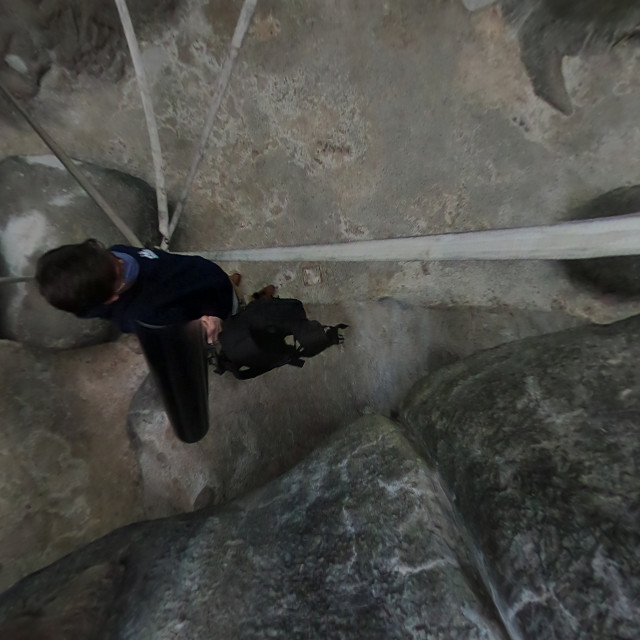
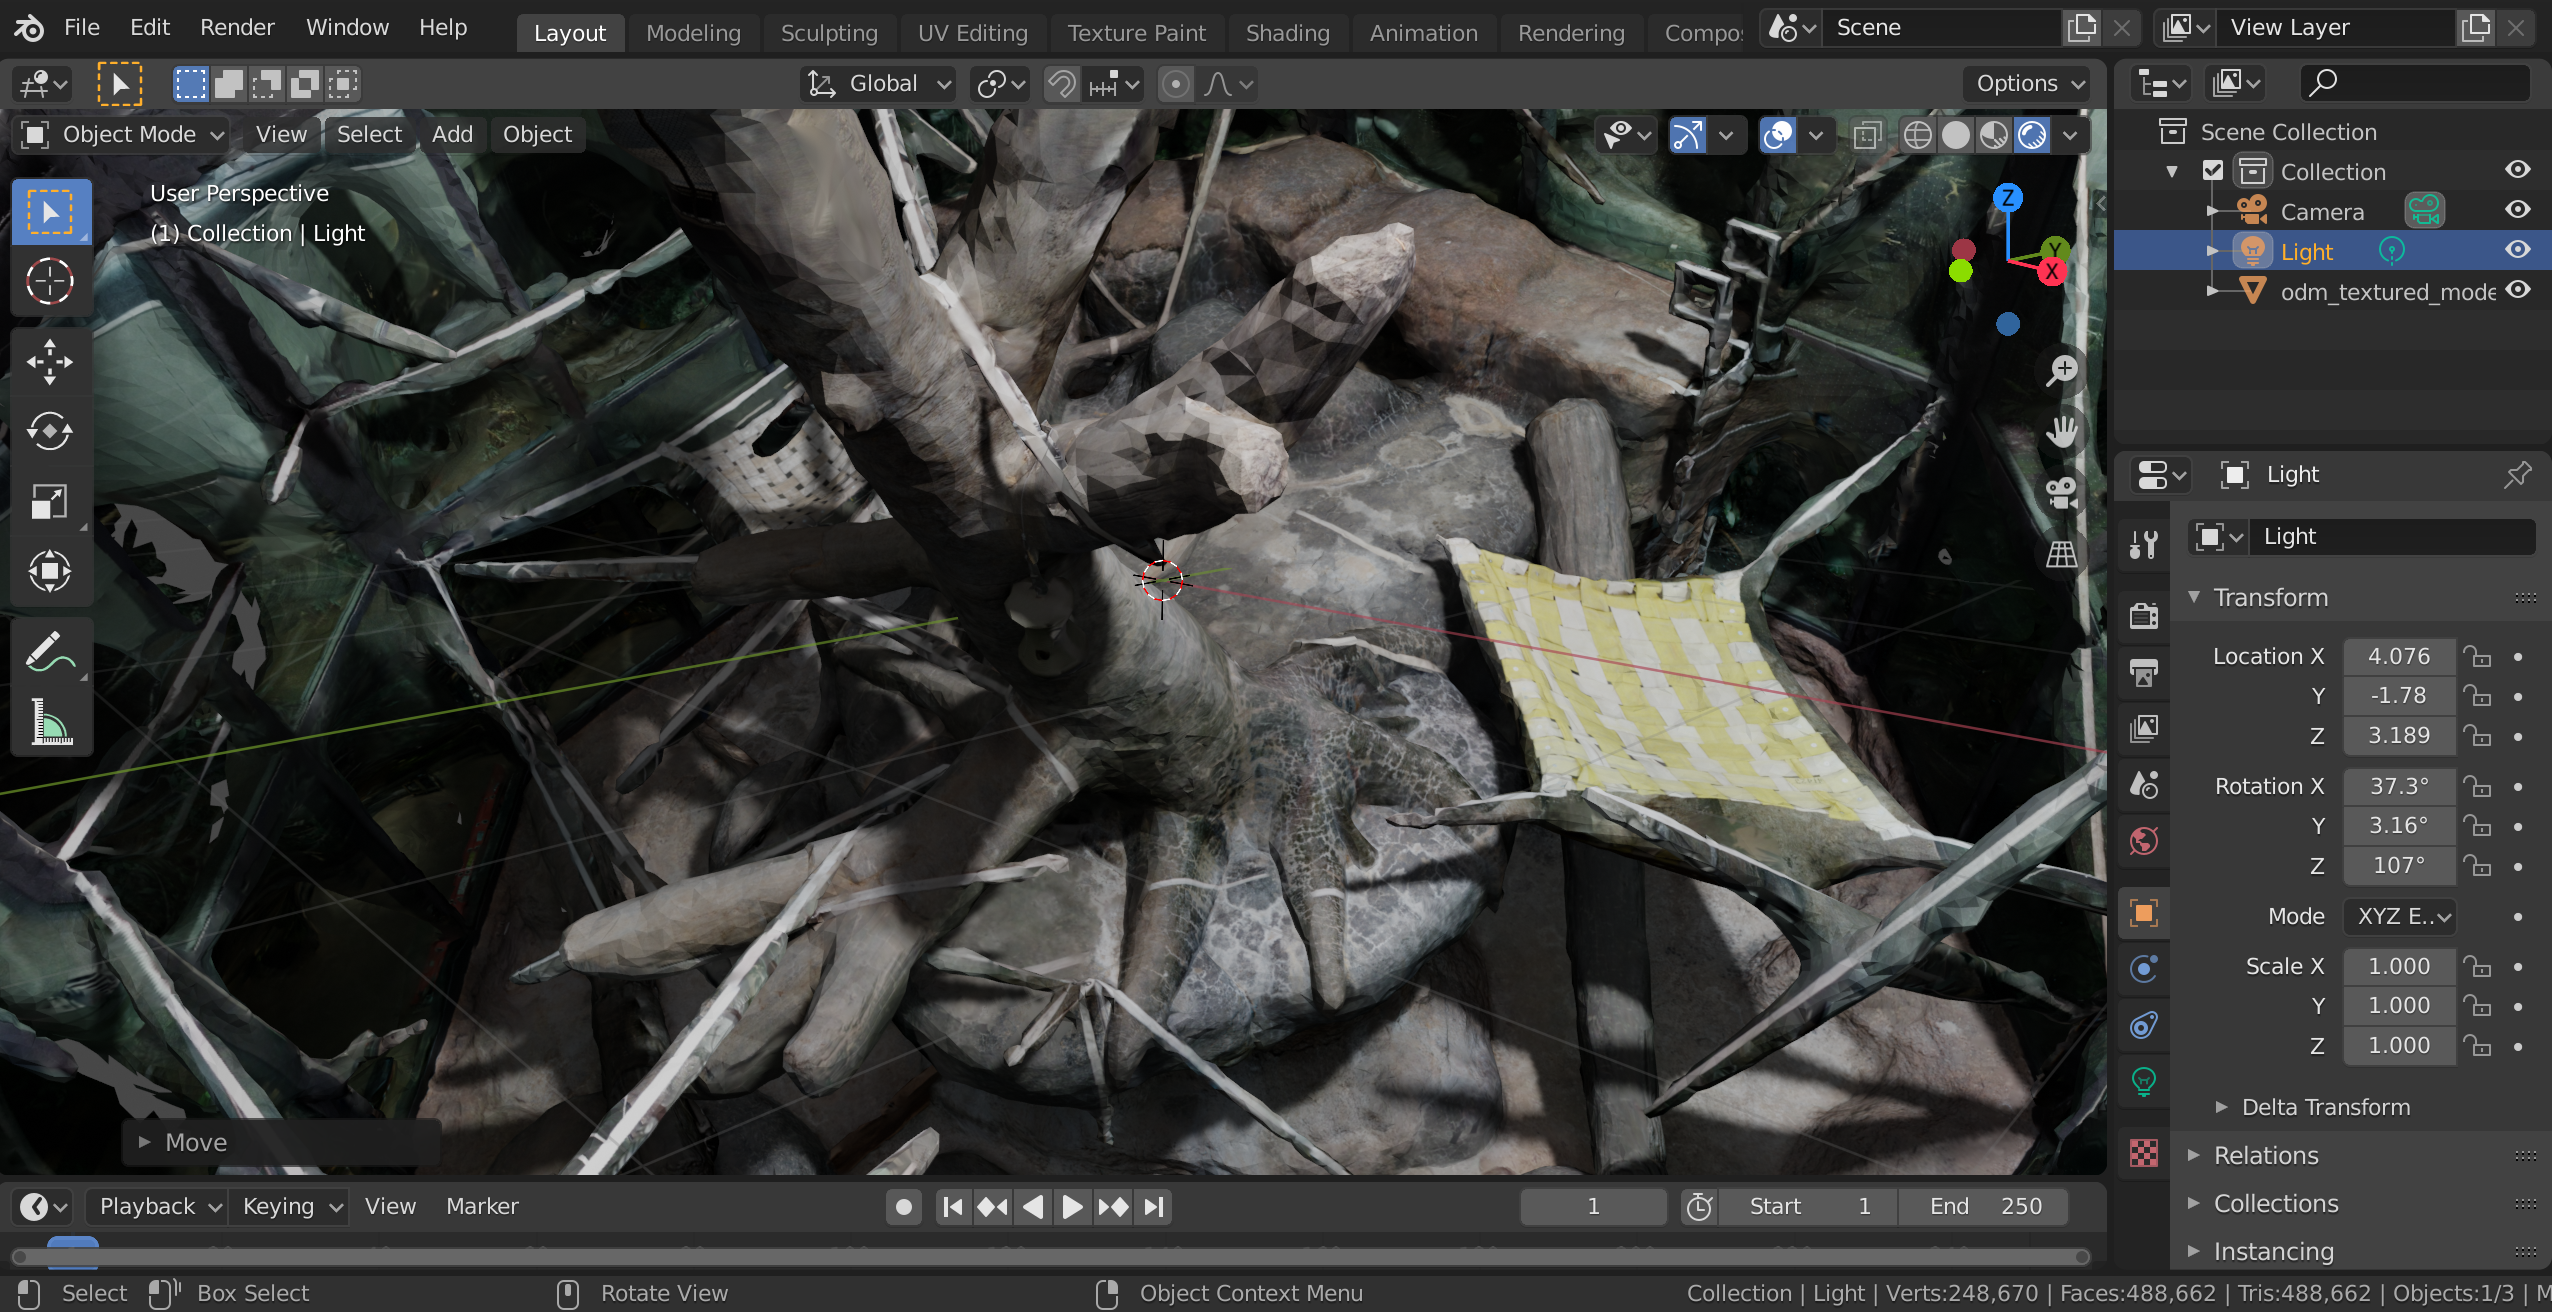
Ah, interesting observations. First, as to the missing pilot: any non-static object should be eliminated. I was busy walking around the tree trying to keep the drone in view so I didn’t bump into anything or crash the drone. Most SfM techniques eliminate non-static objects both from the 3D reconstruction and the texturing of it.
As to the change in coloration: I changed the light and created different shadows from what were originally there. The texturing of the object is quite smooth and balanced across all 3 types of cameras, thanks to the wonders of the MVS Texturing library.
Sorry for the long delay in reply
Yah, had the same issue with ppl moving during the photo shoot….sometime I see nothing and other times parts to ghost like images
I thought the source of light is a bit off and your touching up of the photos explains it.
Why do you have PC-Quality set to low? Nice to see what setting you use to get results….Thanks You